Save
Save The day I made these graduation cupcakes, my kitchen was filled with the hum of celebration prep rather than the usual quiet. As I dusted a cloud of powdered sugar from my sleeves, I caught myself humming the tune from the ceremony downstairs—apparently, I’d absorbed the excitement by osmosis. It wasn’t just about the baking that afternoon but the little details: the fondant caps turning my countertops into a creative mess, and a sense of anticipation with each swirl of buttercream. These cupcakes quietly turned my workspace into a party zone, reminding me that sometimes food itself likes to dress up for an occasion. The moment I set the finished treats on the table, they instantly became conversation starters.
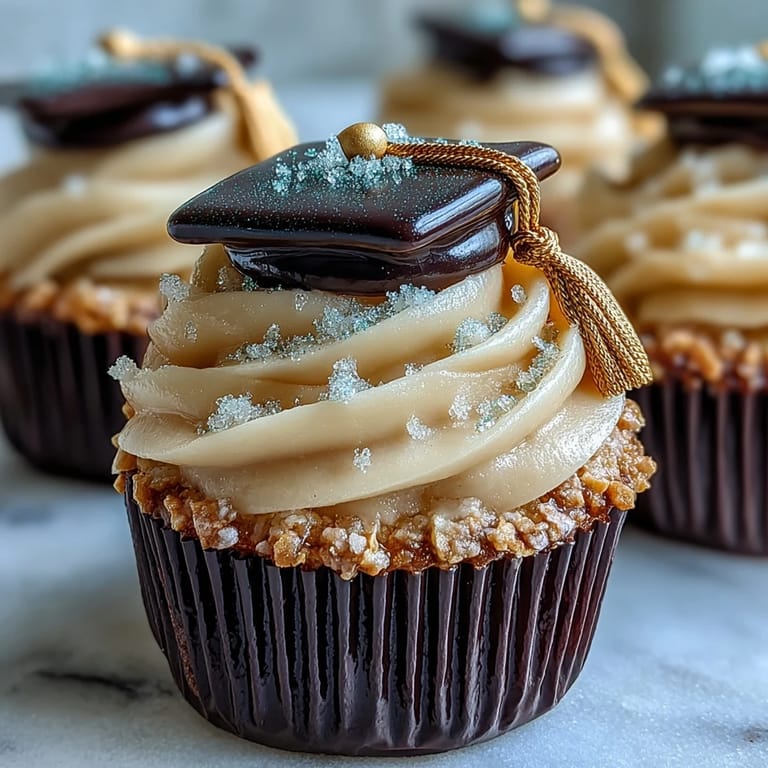
I still smile remembering my cousin’s puzzled face as he tried to figure out how to eat the fondant cap without making a mess at the party. There was genuine laughter as one guest wore a fondant 'hat' before finally conceding to its sweet fate. Making these for that group showed me that a playful touch on dessert can soften any nerve-wracking milestone. Even the hesitant cake eaters admitted they saved their cupcake for last, just to admire it a little longer. It's funny how something as simple as a decorated cupcake can make people pause and savor the moment.
Ingredients
- All-purpose flour: A good base makes for soft and structure-perfect cupcakes; sift it for best results.
- Baking powder: This gives the cupcakes their lift, so be sure it’s fresh for maximum fluffiness.
- Salt: Just a pinch sharpens all the other flavors—don’t skip it.
- Unsalted butter (for cake and frosting): When softened, it’s effortless to cream, giving both cake and icing their signature tenderness.
- Granulated sugar: The right amount keeps these cupcakes sweet but not cloying—beat it well with butter for extra airiness.
- Eggs: They bind everything, and when at room temperature they blend in smoothly.
- Vanilla extract: Adds irresistible warmth to both cake and frosting; a small splash goes a long way here.
- Whole milk: Keeps cupcakes moist; use at room temperature so the batter comes together without curdling.
- Powdered sugar: Sift it for ultra-smooth buttercream, no gritty surprises here.
- Gold and black fondant: It’s like edible arts-and-crafts time—the bolder the fondant, the easier the caps are to shape.
- Cornstarch: Light dusting keeps fondant from sticking, making your crafting a whole lot less fraught.
- Edible gold dust: Not essential but it turns the caps into something truly celebratory and photo-worthy.
- Edible adhesive or water: This is what holds your fondant shapes together; just a tiny dab does the trick.
Tired of Takeout? 🥡
Get 10 meals you can make faster than delivery arrives. Seriously.
One email. No spam. Unsubscribe anytime.
Instructions
- Preheat & Prep:
- Fire up your oven to 350°F (180°C) and nestle cupcake liners into your muffin tin—hearing that paper rustle always feels like the official start line.
- Mix Dry Ingredients:
- In a bowl, whisk together flour, baking powder, and salt until the powdery snow is uniform.
- Cream & Combine:
- Beat the softened butter and sugar until it looks light and fluffy, like sweet butterclouds; add in the eggs one at a time, then a deep inhale of vanilla.
- Blend Wet & Dry:
- Alternate adding the flour mixture and milk, mixing just until combined—never overmix, or your cupcakes will protest by turning dense.
- Bake:
- Portion the batter into the liners, fill each to about 2/3, and bake until golden and springy (about 18–20 minutes); if your kitchen smells like birthday cake, you’re nearly there.
- Cool Off:
- Let the cupcakes rest in the tin for five minutes, then transfer to a rack—warm cupcakes are sturdy, but cool ones are perfect canvases for buttercream.
- Buttercream Magic:
- Whip butter, powdered sugar, milk, vanilla, and a tiny pinch of salt until pillowy and glossy; taste for sweetness and adjust if needed.
- Pipe & Swirl:
- Once the cupcakes are cool, pile or swirl the frosting on top in joyful peaks.
- Craft Fondant Caps:
- Roll out black fondant dusted with cornstarch, cut into sharp squares for the tops, and mold tiny balls for the bases—like mini playdough projects.
- Assemble Caps:
- Stick each square onto a ball using a touch of edible adhesive or water—handle gently for picture-perfect caps.
- Add Tassels & Shine:
- Roll slender ropes of gold fondant for tassels, add a tiny button, and brush with gold dust if you want that hint of sparkle.
- Decorate & Serve:
- Nestle a fondant cap atop each frosted cupcake—then step back and admire your edible pageant of graduation hats.
 Save
Save 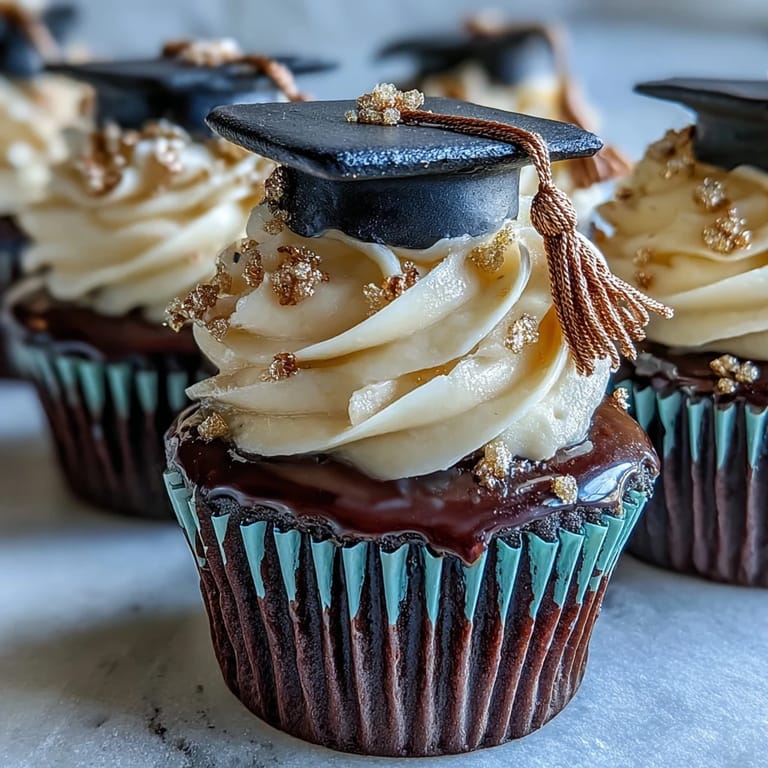 Save
Save Watching everyone pull out their phones to snap photos before even tasting the cupcakes, I realized these treats had become more than just dessert—they were little edible trophies for a pretty big day. It’s those small, proud smiles that stick with me every time I make these.
Troubleshooting Fondant: My Lessons
The day I tried to rush the fondant caps, I ended up with lopsided hats and tassels that looked more like spaghetti than celebratory flair. Give yourself room to make a few practice ones; oddly shaped caps still disappear just as quickly. If you’re short on fondant, patchwork fixes with a little water and a steady hand can save the day. Fondant can dry out quickly, so covering scraps with plastic wrap is my best defense against cracking. Even if your caps aren’t perfect, they’ll still look festive and charming perched on buttercream peaks.
Bringing the Cupcakes Together with Ease
The simplest way to make this recipe manageable is to bake the cupcakes and prepare your fondant shapes the day before the big event. This gives you a calm window to focus on decorating, rather than scrambling as the party nears. If you’re pressed for time, store-bought fondant works perfectly fine—no need to stress about starting from scratch. Invest in a small fondant rolling pin or even a clean wine bottle to roll it thin and even. The less you touch and fiddle with your cupcakes once they’re dressed, the more polished they’ll appear.
Little Ways to Make Graduation Extra Special
I love slipping a personalized message under a cupcake liner or doing a swirl of gold-flecked buttercream for an extra pop. Small edible details—like a sprinkle of edible glitter—turn these from cute to memorable. Even wrapping the cupcake tin in a color-coordinated ribbon gets a surprising number of compliments.
- If you want a shortcut, chocolate cupcakes are a winning swap for the vanilla base.
- Let kids help with the fondant—playful teamwork means more smiles and less pressure for perfection.
- Always double-check fondant ingredients for allergens before serving at parties.
 Save
Save  Save
Save Whether for a milestone or just because, these cupcakes are a creative way to celebrate moments of accomplishment. Enjoy crafting and sharing every sweet victory bite!
Recipe Questions
- → How do I prevent fondant caps from drying out?
Store fondant pieces in an airtight container between layers of parchment or plastic wrap, and keep at room temperature away from direct sunlight to retain pliability.
- → Can I make the cupcakes ahead of time?
Yes. Bake and cool cupcakes fully, keep uniced in an airtight container for a day, or freeze for longer storage. Add buttercream and fondant caps just before serving if possible.
- → How do I get a smooth buttercream finish?
Beat butter until very soft, sift powdered sugar, add milk gradually and whip until fluffy. Use a spatula or piping bag and a light turntable motion to smooth the surface.
- → Any tips for coloring fondant gold?
Use gold fondant or brush black fondant lightly with edible gold dust mixed with a tiny alcohol or clear extract for shine. Apply sparingly for an even metallic look.
- → How can I make these dairy-free?
Swap dairy butter with a plant-based baking stick and use a non-dairy milk. Ensure the chosen fondant is free from gelatin or dairy-derived stabilizers.
- → What should I do if fondant is sticky?
Lightly dust the work surface with cornstarch or powdered sugar and knead until smooth. If too dry, a tiny dab of shortening will soften it.