 Save
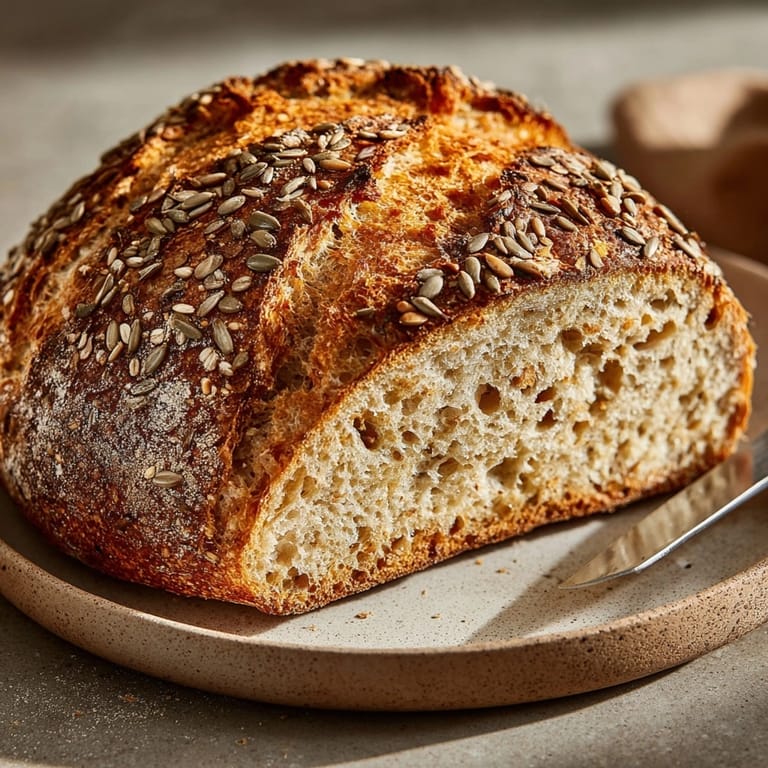
Save This rustic country sourdough with seeds transforms simple ingredients into an artisan loaf with a crackling crust and tender, seed-studded interior. The slow fermentation develops complex flavors that store-bought bread simply cannot match, making this recipe worth every minute of the journey.
I first developed this recipe during a long winter weekend when I was craving something substantial and nourishing. After several iterations, this version became my signature bread that friends now request whenever they visit our home for dinner parties.
Ingredients
- Bread flour: provides the perfect protein content for that ideal chewy texture and reliable rise
- Whole wheat flour: adds nutty complexity and nutritional value without making the loaf too dense
- Active sourdough starter: contributes both leavening power and that distinctive tangy flavor profile
- Fine sea salt: enhances all flavors while controlling fermentation rate
- Sunflower seeds: offer a buttery richness and subtle crunch throughout the crumb
- Pumpkin seeds: provide earthy notes and beautiful green specks when sliced
- Flax seeds: contribute omega-3 fatty acids and a pleasant nuttiness
- Sesame seeds: bring their distinctive aroma and delicate texture
Tired of Takeout? 🥡
Get 10 meals you can make faster than delivery arrives. Seriously.
One email. No spam. Unsubscribe anytime.
Instructions
- Autolyse the Flour:
- Combine bread flour and whole wheat flour with room temperature water in a large bowl, mixing just until no dry spots remain. Cover with a damp cloth and let rest for 30 minutes. This crucial rest period allows the flour to fully hydrate and begins gluten development without kneading.
- Add Starter and Salt:
- After the autolyse, add your active sourdough starter and salt to the dough. Work them in thoroughly using your fingers with a pinching motion until completely incorporated. The dough will initially feel sticky but will become more cohesive as you mix.
- Incorporate Seeds:
- Add all seeds to the dough and fold them in gently but thoroughly. Use wet hands to prevent sticking and continue folding until seeds are evenly distributed throughout the dough. This careful incorporation ensures seeds are present in every bite without tearing the developing gluten structure.
- Bulk Fermentation:
- Place the dough in a lightly oiled bowl and cover. Over the next 4 to 5 hours at room temperature, perform 3 to 4 sets of stretch and folds every 30 to 45 minutes. Each time, wet your hands, grab a portion of dough, stretch it upward and fold over the center. Rotate the bowl and repeat until you have worked around the entire dough. The dough should gradually become more elastic and structured with each set.
- Shape the Loaf:
- Turn the dough onto a lightly floured work surface. Gently press to degas slightly without flattening completely. Pull the edges toward the center to create tension on the surface, then flip seam side down. Cup your hands around the dough and rotate while pulling toward you to create a tight ball with a smooth surface. The tension created here is essential for a good rise.
- Cold Fermentation:
- Place the shaped dough seam side up in a banneton or bowl lined with a well floured kitchen towel. Cover and refrigerate for 8 to 12 hours. This slow, cold fermentation develops complex flavors while making the dough easier to handle and score.
- Preheat and Prepare:
- Place your Dutch oven with lid in the cold oven and preheat to 475°F for at least 45 minutes. The extremely hot Dutch oven mimics a professional steam oven, creating the perfect environment for oven spring and crust development.
- Score and Bake:
- Remove the dough from refrigeration, invert onto parchment paper, and score the top with a lame or sharp knife. Make one confident slash about half an inch deep or create a decorative pattern. Carefully lower the dough on the parchment into the preheated Dutch oven, cover, and bake for 25 minutes with the lid on to trap steam.
- Finish Baking:
- Remove the lid and continue baking for another 20 minutes. During this phase, the crust develops its deep color and crackling texture. Look for a rich golden brown color and a hollow sound when tapping the bottom of the loaf.
- Cool Completely:
- Transfer the baked loaf to a wire rack and allow it to cool completely for at least 2 hours before slicing. This patience is rewarded as the crumb sets and flavors fully develop. Cutting too soon results in a gummy texture and lost flavor potential.
 Save
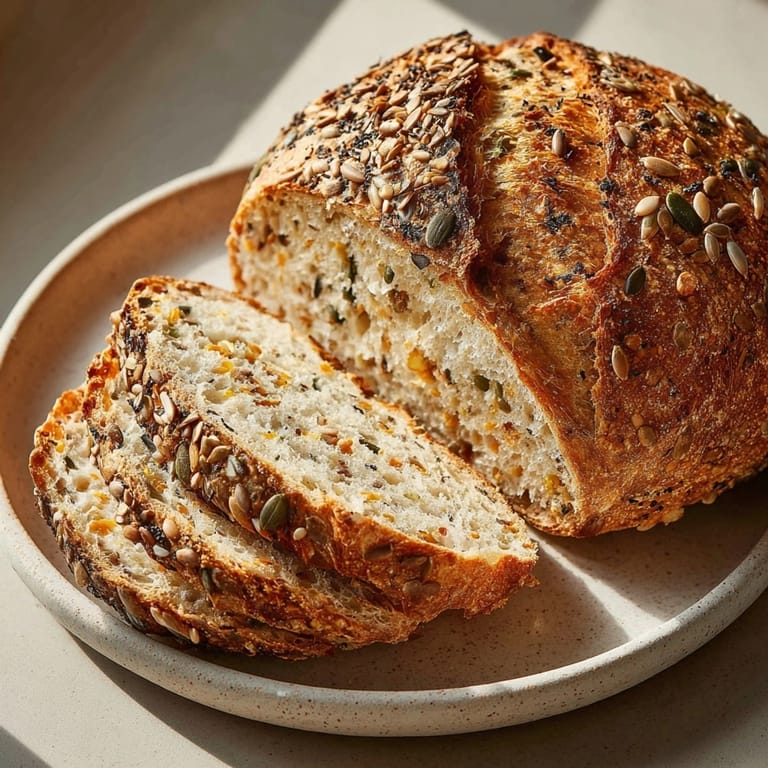
Save My favorite aspect of this bread is how the seeds toast slightly during baking, releasing their aromatic oils throughout the loaf. This was particularly evident when I made this bread for my sister's housewarming party and guests kept commenting on the incredible aroma filling the room even hours after baking.
Understanding Hydration Levels
This recipe uses approximately 70% hydration, making it manageable for bakers with some experience. Hydration refers to the ratio of water to flour by weight. Higher hydration creates more open crumb but can be trickier to handle. If you find the dough too sticky, reduce water by 25g in your next batch. Conversely, experienced bakers might increase water by the same amount for a more open crumb structure.
Starter Maintenance Tips
Your sourdough starter should be fed regularly and used at peak activity for best results. Look for a starter that has doubled in size and shows plenty of bubbles throughout. I feed my starter twice before baking with it, once the evening before and once about 4 hours before mixing the dough. This ensures maximum leavening power and a mild, pleasant tang rather than excessive sourness that can come from an overly acidic starter.
Seasonal Adaptations
Summer baking requires adjustments to prevent overfermentation. Reduce room temperature fermentation time by about 30% and use slightly cooler water. Watch for signs of proper fermentation rather than strictly following the clock. Winter baking benefits from warmer water and finding a cozy spot in your kitchen for bulk fermentation. I often place my dough near a preheating oven or on top of a refrigerator where ambient heat collects. Spring and fall typically follow the recipe as written, but always pay attention to how your dough behaves in your unique environment.
Troubleshooting Common Issues
Dense Crumb Problems: If your bread turns out dense, several factors could be at play. Your starter might not have been active enough, fermentation might have been insufficient, or the dough might have been overhandled during shaping. Try extending bulk fermentation slightly and ensure your starter is vibrantly active before mixing. Flat Loaves: When loaves spread rather than rise upward, usually tension was insufficient during shaping or the dough overfermented. Work on creating more surface tension during shaping and consider reducing fermentation time slightly next batch. Gummy Interior: This typically indicates underbaking or cutting the loaf while too warm. Ensure your oven temperature is accurate using an oven thermometer, and always allow the bread to cool completely before slicing.
 Save
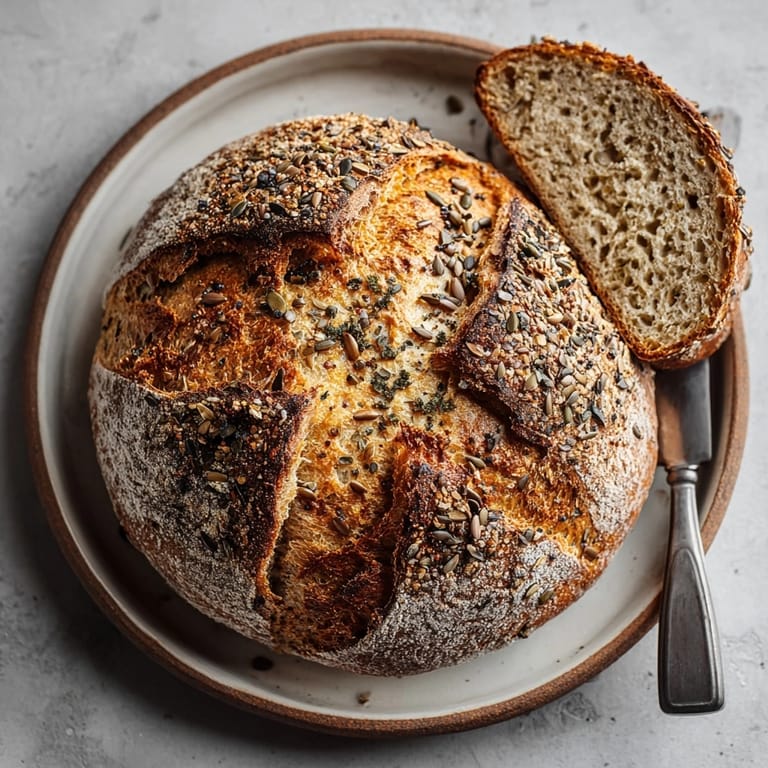
Save This rustic country sourdough with seeds represents the beautiful intersection of science and art that makes bread baking so rewarding. With practice, you'll develop an intuition for how the dough should feel at each stage, allowing you to make subtle adjustments based on your kitchen environment and ingredients. The satisfaction of slicing into a loaf you've crafted from the simplest ingredients is unmatched, especially when sharing it with loved ones around your table.
Recipe Questions
- → Can I use different seeds in the dough?
Yes, you can substitute or add seeds such as chia or poppy for variety. Just keep total seed weight similar for best texture.
- → How do I know when the sourdough is ready to bake?
The loaf should spring back slowly when gently pressed and show visible bubbles below the surface after cold fermentation.
- → What is the benefit of an overnight cold proof?
Cold fermentation allows deeper flavor development and easier handling of the dough, leading to a tangier, more complex loaf.
- → Can I bake this loaf without a Dutch oven?
If a Dutch oven is unavailable, bake on a preheated baking stone and use a tray of hot water to generate steam for crust.
- → Is it possible to use all-purpose flour instead of bread flour?
All-purpose flour can be used but may result in a slightly denser crumb due to its lower protein content.
- → How should I store leftover bread?
Keep the loaf wrapped in a cloth at room temperature for up to 3 days, or freeze slices in airtight bags for longer storage.